Occasionally I get called to do an “Artist in the Classroom” session. Often times the teacher leaves it to me to come up with a project, other times there is this wonderful collaboration with the teacher, and other times the teacher will simply name the project and I will come up with an idea for it. Such was the case with this project. Earlier in the year, this grade 4 teacher simply asked if her class of 28 could make clay Viking ships, as they were discussing Medieval Times. I said yes of course. Then it was off to the drawing board.
After plenty of research to determine what a Viking ship might have looked like (and it was an added bonus that we were watching the series "Vikings" at the time), I first tried pinching the viking ship shape but that was tricky and time consuming, with poor aesthetic results. This method would be especially disappointing for smaller untrained hands. Then I tried putting slabs together for the bottom and sides of the boat, but that got complicated and awkward and didn't hold up so well in assembling (not to mention it just didn't look right). Even if I can make it happen a certain way, its important for me to keep in mind that these little hands are likely not accomplished clay builders. First rule is to keep it simple. Make it interesting but doable, and they will enjoy creating it. If I follow my first rule, especially with children, there is a sense of accomplishment, and usually a sense of amazement at that accomplishment. This in turn builds confidence to continue along in that creative vein and that’s is most important. I witness (with great joy) this happening all the time. Children will embrace a challenge if its a reasonable one.
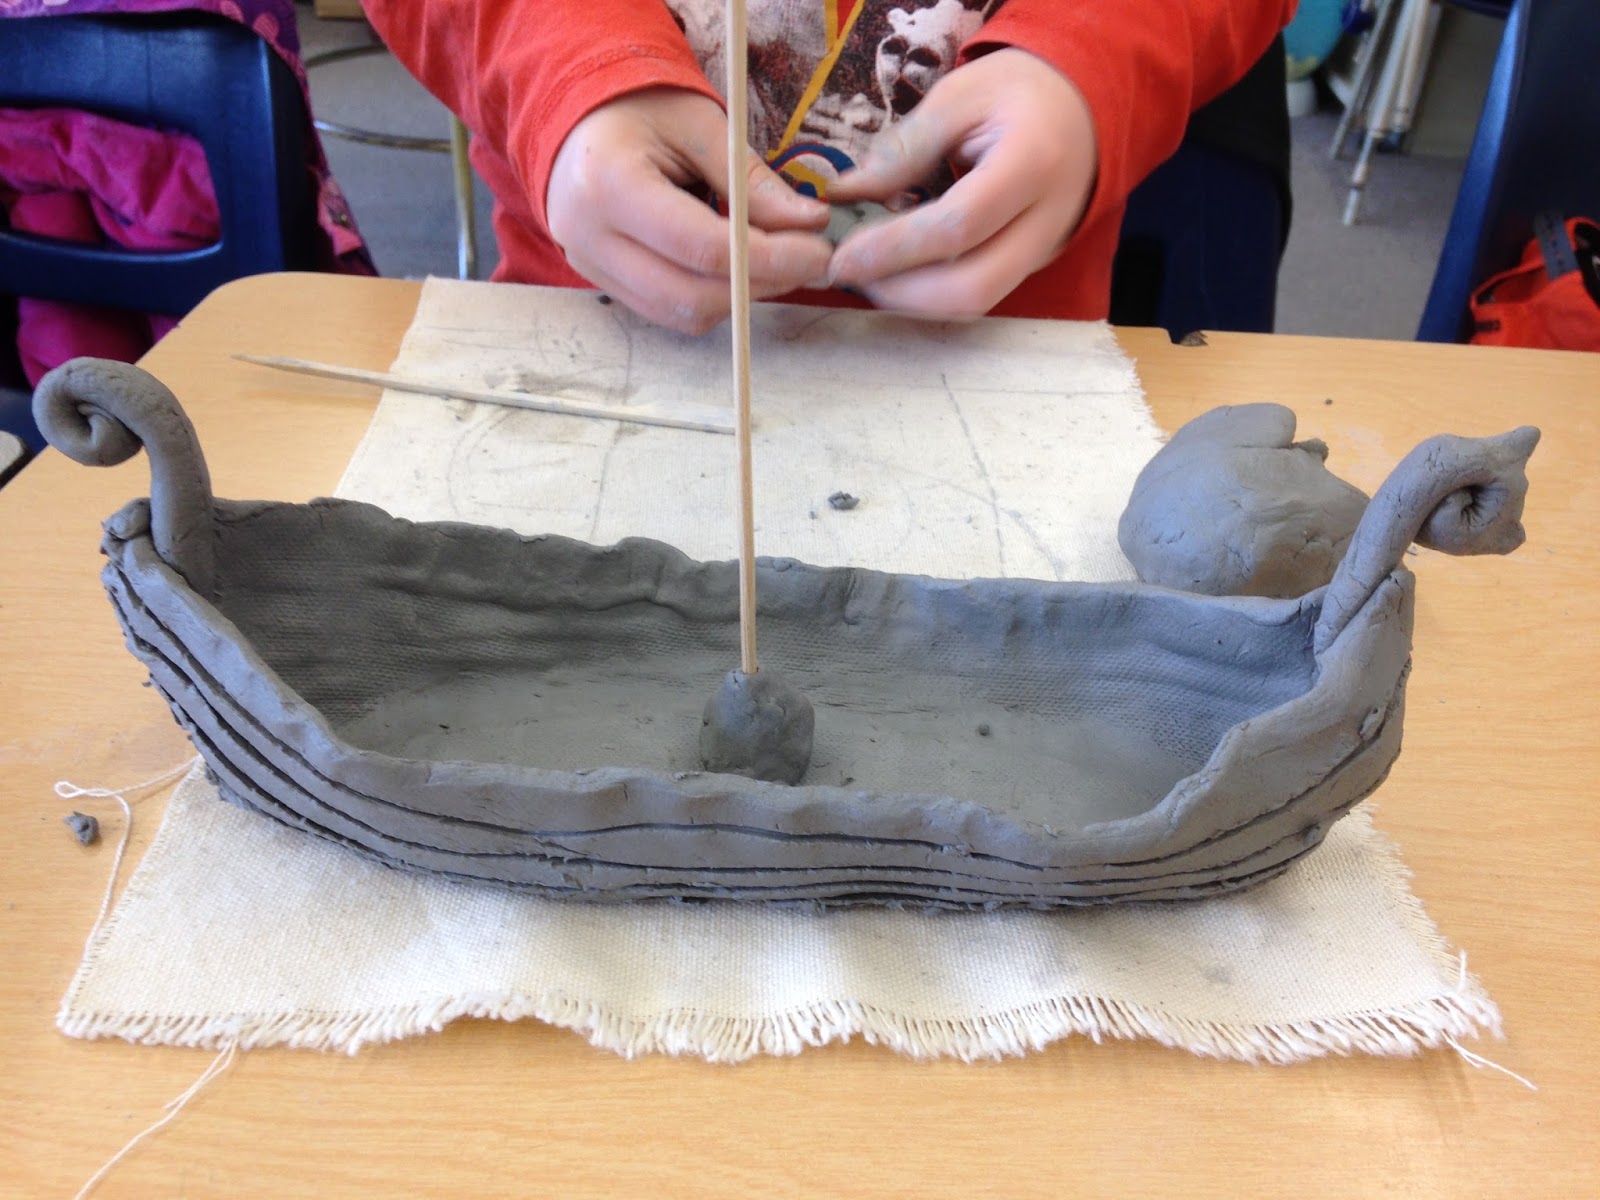
Finally, from a ship that I pinched out and cut in half, I was able to form a pattern for the hull of the boat that was one piece. After cutting out this basic pattern from a rolled slab, the ends are pinched together and the hull stands up just fine. After that basic construction the really fun part begins and individual design elements are incorporated.
Aside from a canvas mat and shared rolling pins, I give students one tool to work with - a bamboo skewer that is pointed at one end and is good for cutting, and a little wider and flat at the other end, good for smoothing and pressing. Mostly I encourage using hands.
This session was such a wonderful experience. The students remained engaged with very little goofing off and I was amazed at the creative initiative each one took in adorning the ship and making it their own. The focus was incredible and there was so much positive creative energy in the room to feed off of.
Some even had time to make a paper sail.
And some vikings!


No comments:
Post a Comment